
Test daytime recharge and automatic switch-on separately at the proposed installation site. Approve the quoted configuration only when it meets the project’s requirements in both tests.
Agree the acceptance criteria
Before the sample arrives, agree the required lighting window, the latest acceptable automatic start, the brightness or mode, and the minimum usable duration. Define how the team will recognise the end of usable light, such as when the string falls below an agreed brightness at a marked viewing point. Decide whether scheduled USB top-ups are acceptable and who would carry them out.
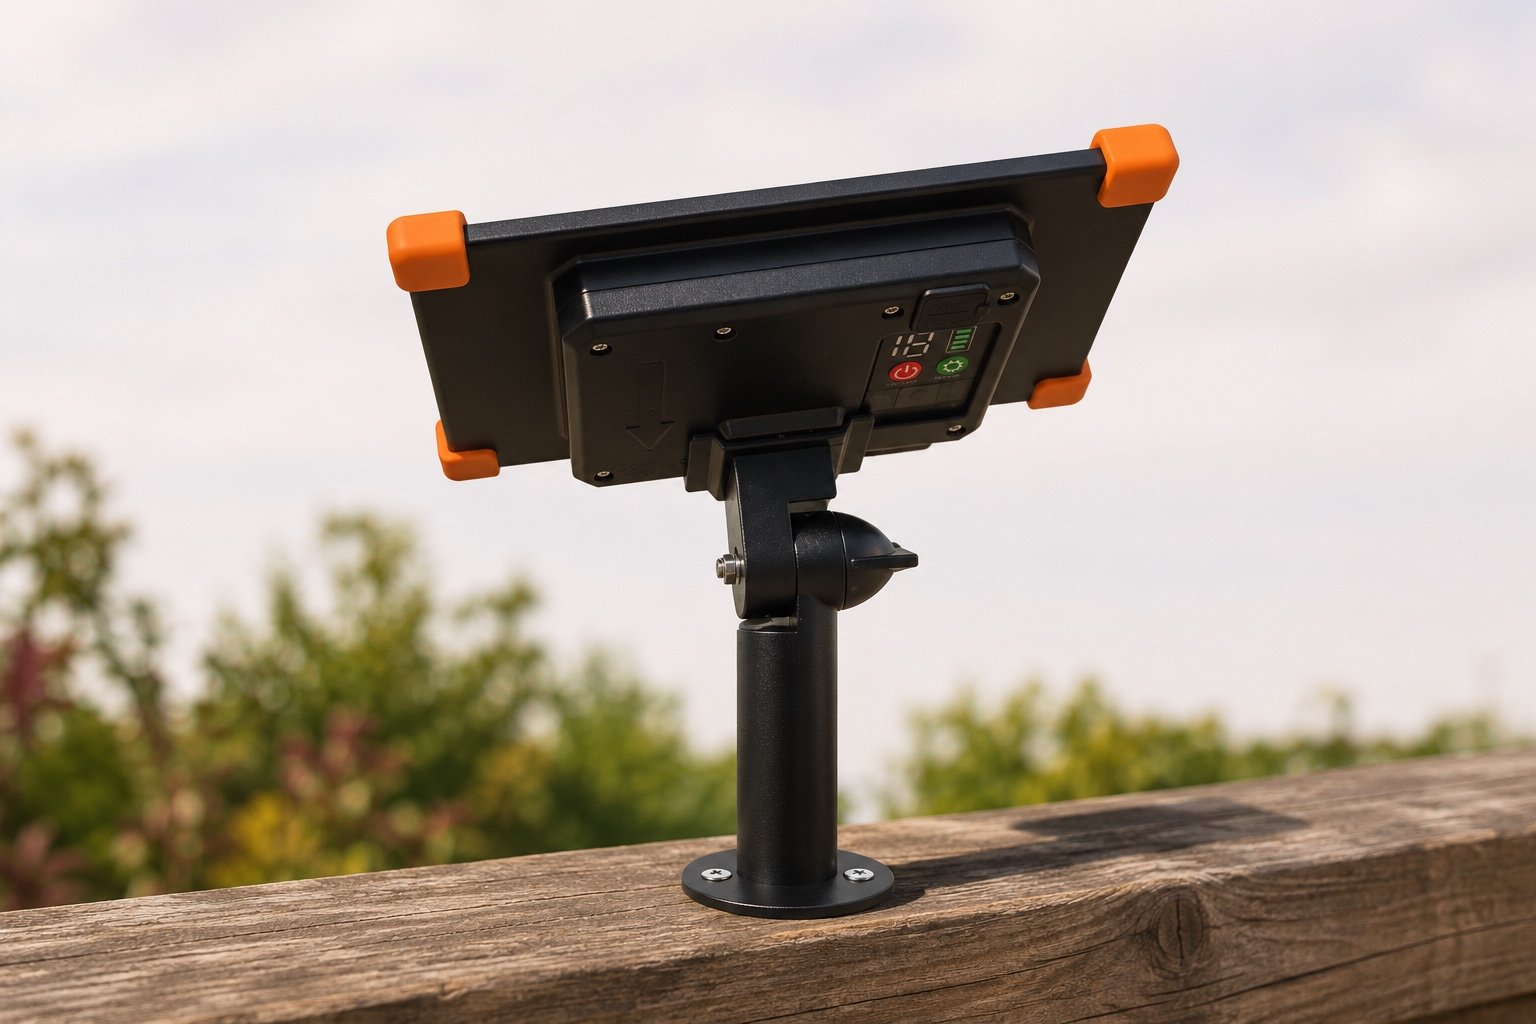
Match the panel, control box, battery and light string to the quotation revision. Obtain the manual for that version and confirm the permitted mounting positions, switch and timer settings, how charge status is read, which part senses light, and any response delay. Where USB charging is proposed, confirm the port, supported input and charging protocol, cable and adapter, and the meaning of each indicator.
Test A · Daytime recharge and that evening’s run
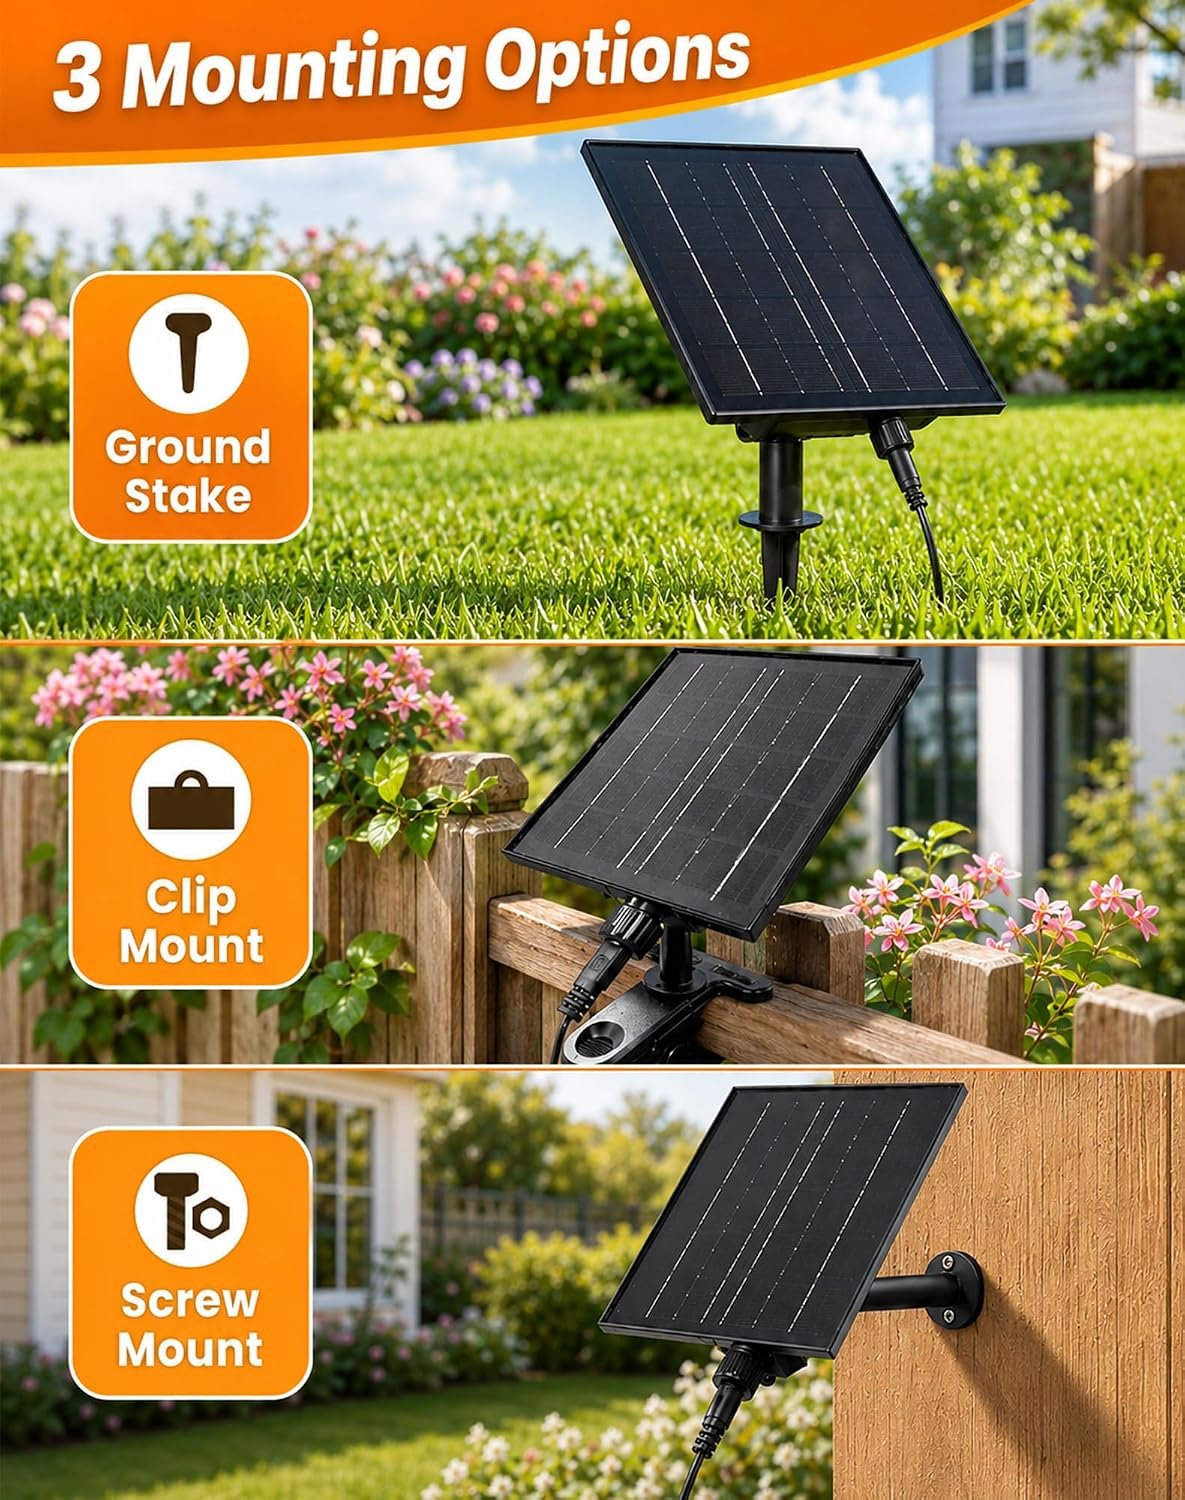
Fit the sample at the proposed position using the permitted mounting arrangement. Start from an agreed, repeatable battery condition and record it. If the manual gives only a charging indicator, record its meaning and state. Ask the supplier how to establish a repeatable starting condition if the sample gives no usable charge reading. A run started with unknown carry-over charge may overstate what the site can sustain.
Log the date, weather, charging interval, panel direction and tilt, and when and how much of the panel is shaded. Note foliage, awnings and any glazing actually between the panel and daylight. Use the sample’s instructions to check charge status and record the end-of-day indication where available.
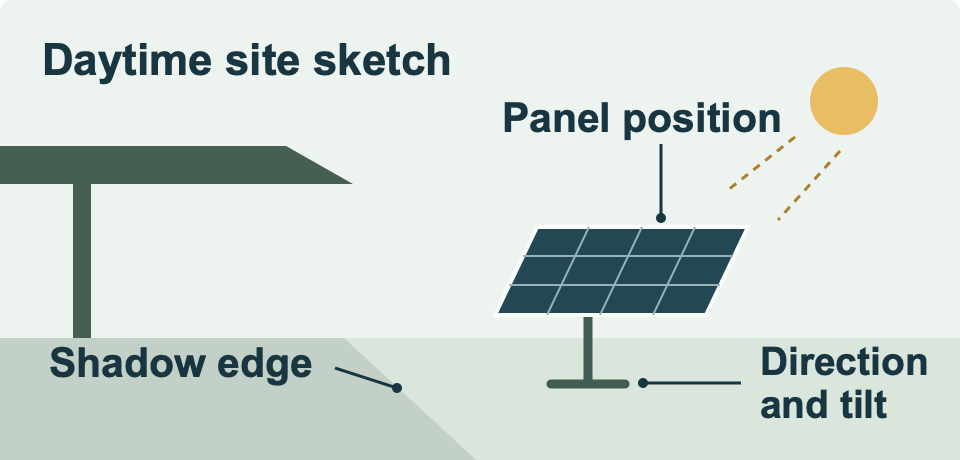
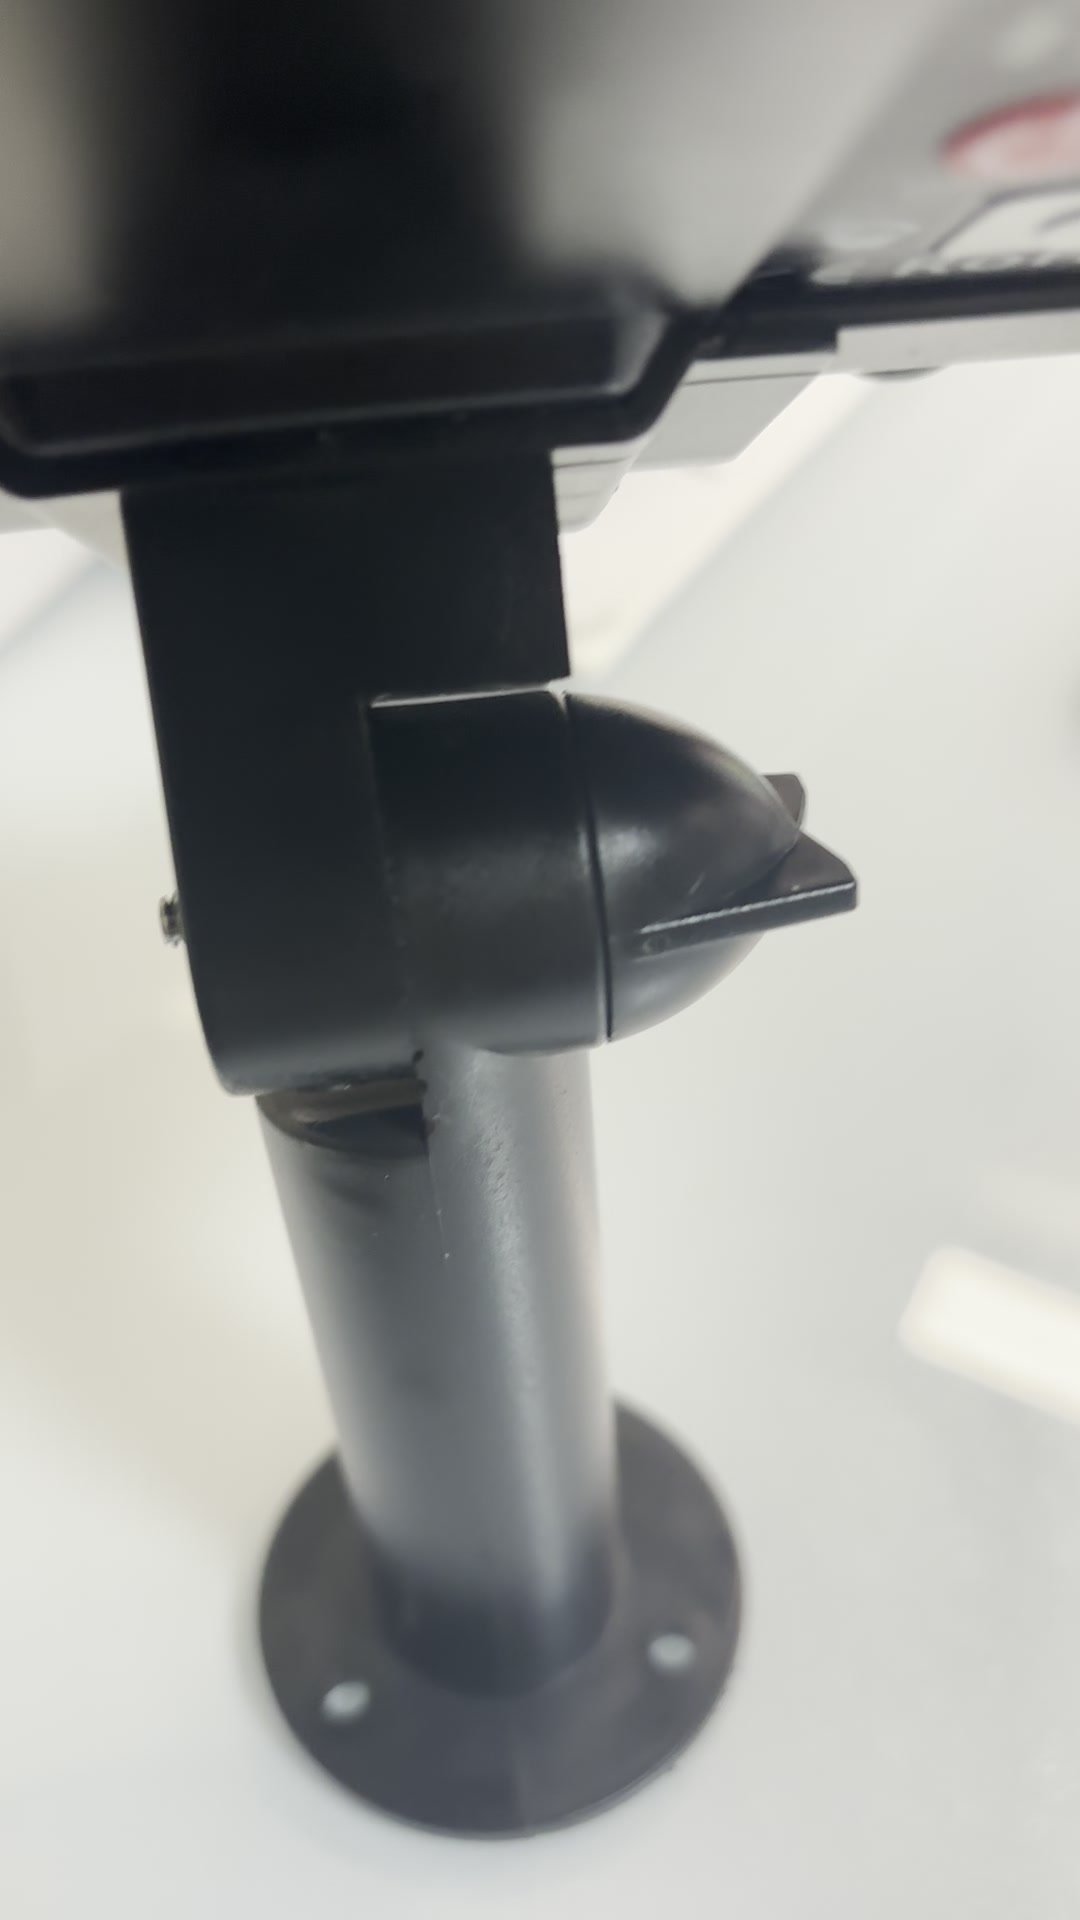
For a comparison, use the same quoted configuration and comparable starting charge, settings, and charging interval. Where practicable, compare matched samples on the same day. Record differences in weather, exposure and sample preparation. Repeat under agreed representative conditions if one day cannot support the purchasing decision.
That evening, prevent stray light from confounding the runtime check. Use a manual-approved start method or create suitable darkness at the confirmed sensing point as the manual allows, with the same operating load and intended brightness, mode and timer. Start timing when usable illumination begins. Record when it first drops below the agreed level or switches off. If you cannot establish a valid start, mark the recharge-and-run result inconclusive.
Run the solar-only baseline without USB top-up. If you use USB that day, log when, how long and with which equipment, and use that result only for an installation plan that includes top-up. Keep any assisted run separate from the solar-only baseline.
Couleelight’s Short suggests aiming for five to six hours of direct sun. Use this as a placement prompt for the trial. Assess window glass, partial shading and orientation at the actual site, within the model’s mounting instructions, and judge the sample by its recorded performance.
For cable reach and mounting, use the commercial placement guide. The G40 runtime section explains why starting charge and settings matter, and the USB-C backup charging guide covers a separate assisted charging trial.
Test B · Automatic switch-on under site lighting
Run this test with independently confirmed sufficient charge, even if Test A is pending or failed. Set the quoted sample to the applicable automatic lighting mode. Use the matching manual or supplier instructions to identify the sensing component and its location. Check any timer or reset procedure before the first observation.
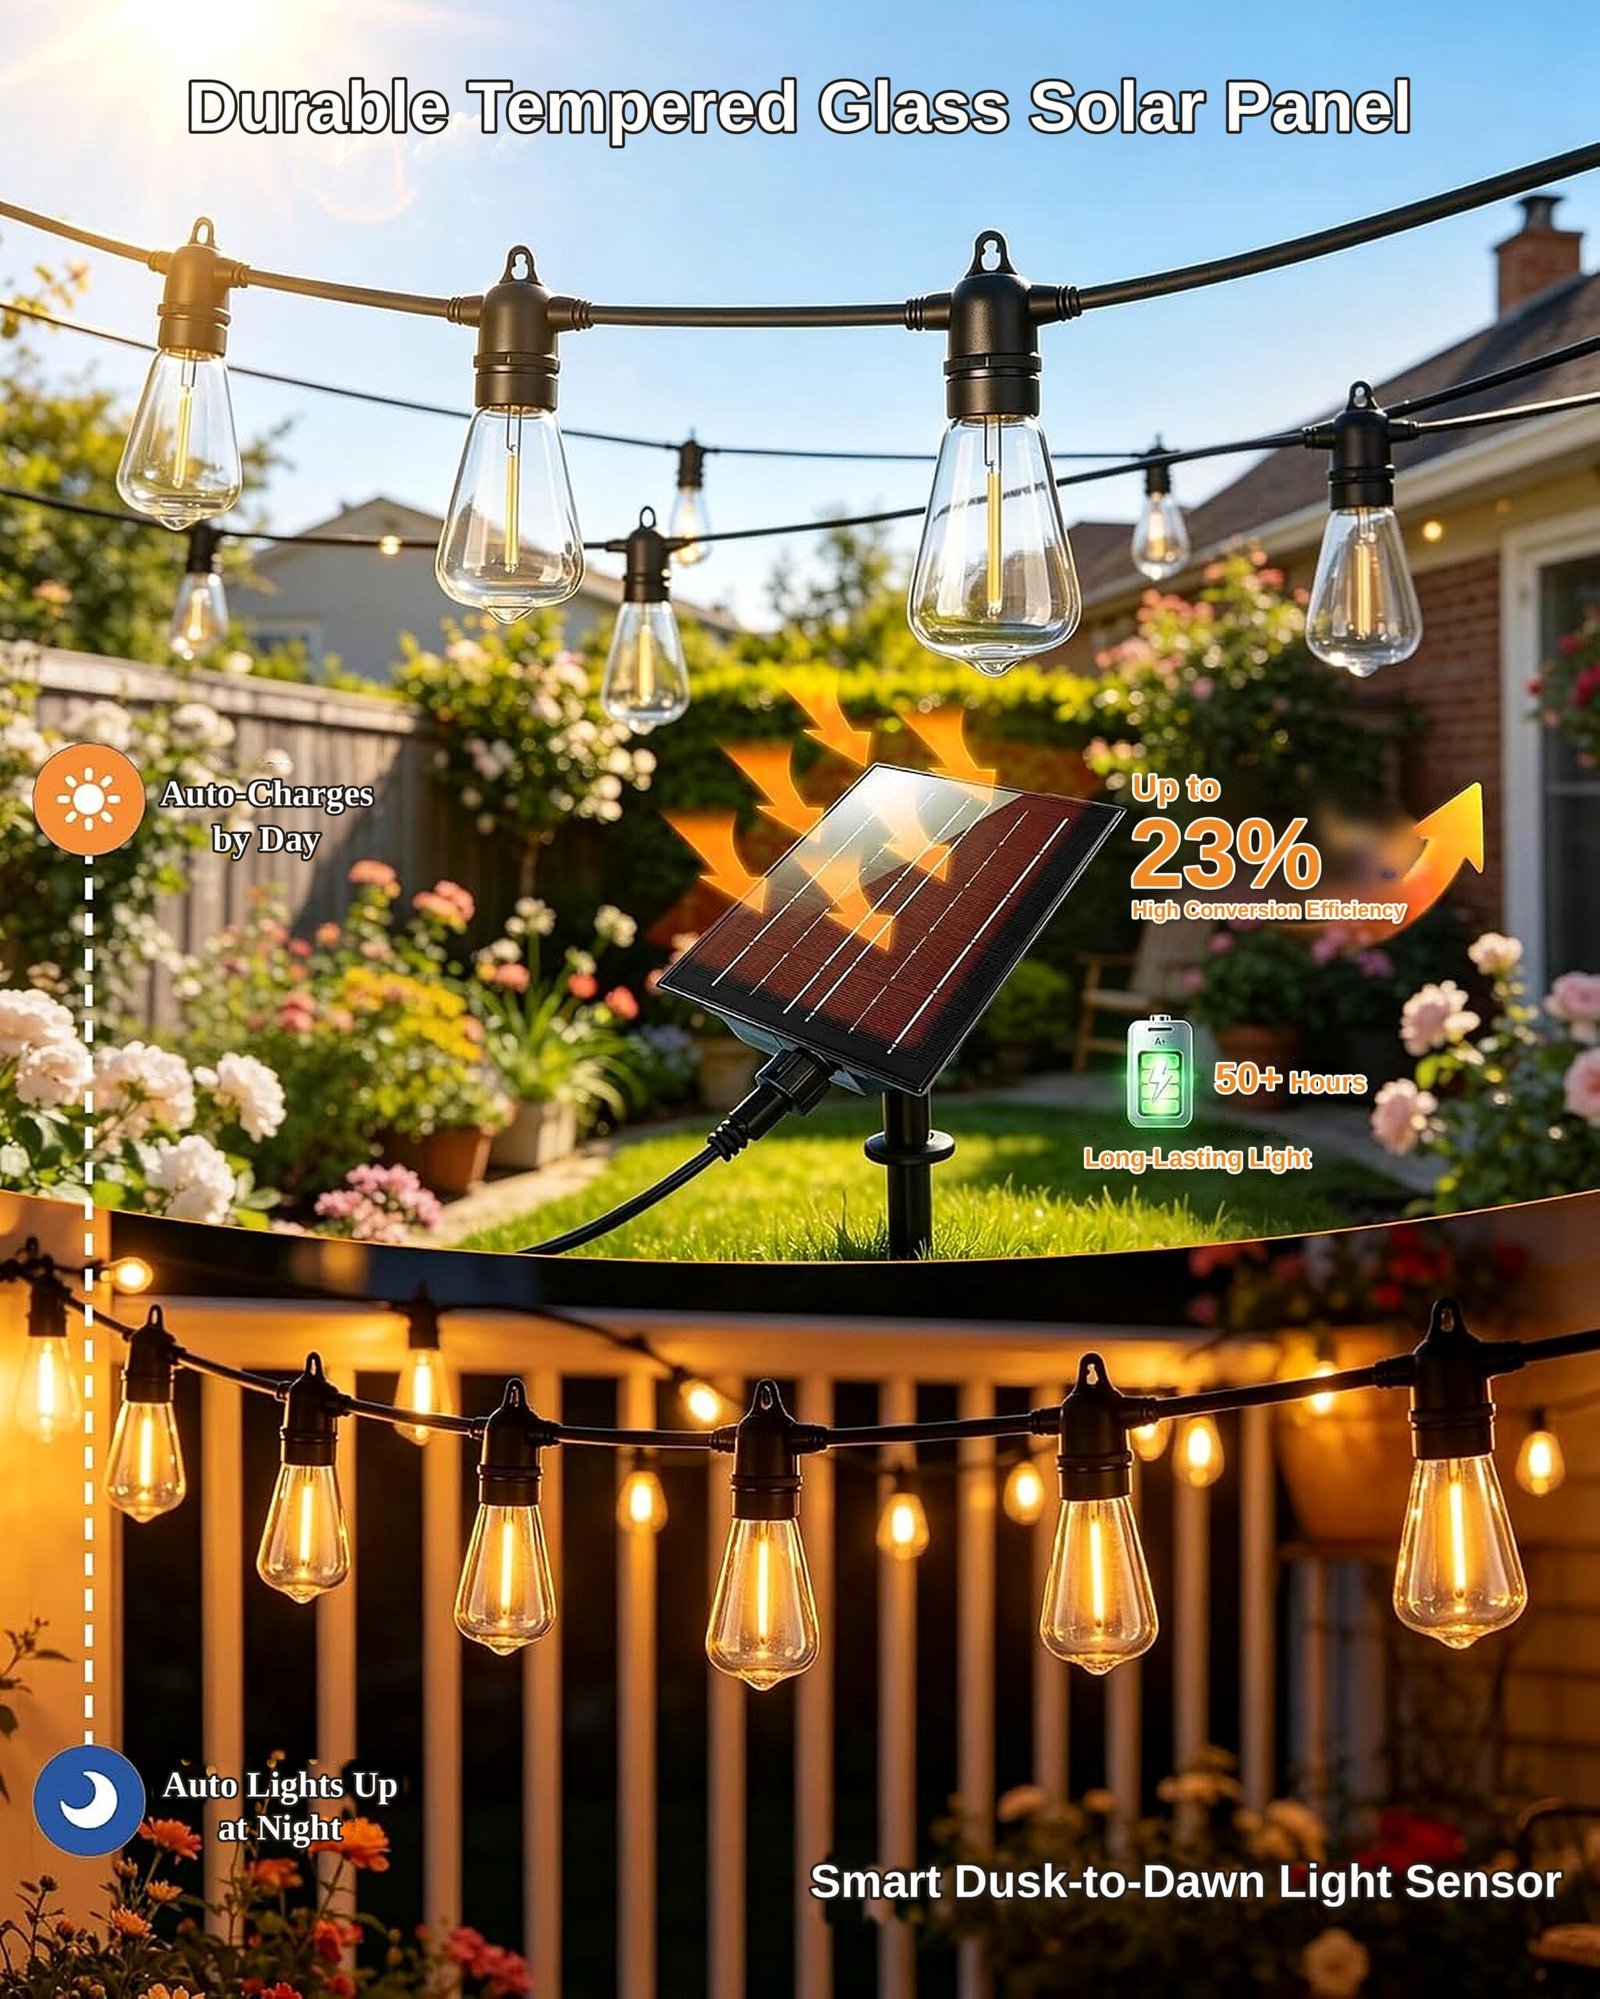
- After dark, leave the venue’s artificial lighting in its normal operating state. Record the light source, observation start and what the sample string does after the documented response delay.
- Under controlled conditions, remove the source’s influence at the confirmed sensing point. For example, temporarily switch off the suspect fitting if site operations permit. Keep the sample, charge, mode and other lighting as comparable as practicable. Observe the same string for the documented delay and log whether and when it responds. If the manual is silent about response time, obtain an agreed observation interval before judging the result.
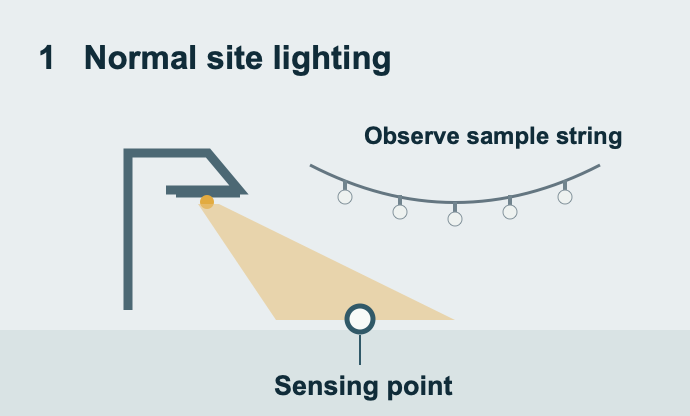
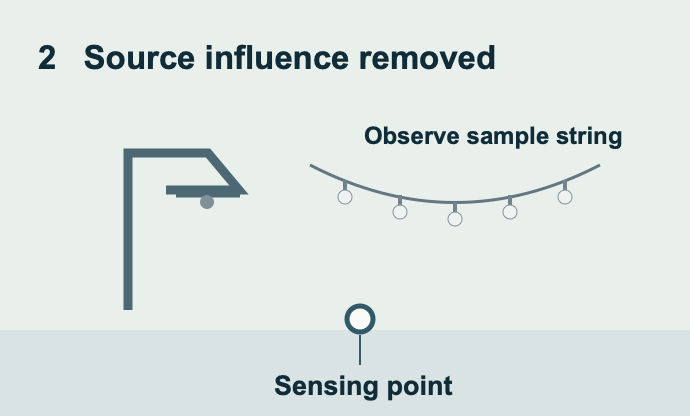
If the string stays off under normal site lighting and comes on when the suspect light is removed, the result implicates that source under the tested conditions. Restore normal lighting and repeat if needed to confirm the pattern. If the string stays off in both conditions, check charge, settings and the approved procedure before attributing the result to the artificial light.
Approve or retest the quoted configuration
Daytime recharge and run. Pass when the agreed daytime conditions and charging plan support the minimum usable duration at the agreed settings. A short run calls for a recharge-and-runtime retest after checking exposure, starting condition and the agreed load. If needed, compare with a documented full-charge run at the same settings to help distinguish limited daytime recovery from a runtime limit.
Night-time light sensing. Pass when the string switches on as required under the normal site lighting that will apply in service. If it starts only when a nearby light’s influence is removed, revise the permitted sensor position or the site lighting plan and rerun the night test under the final normal lighting. If the change also affects daytime exposure, repeat Test A.
Approve only when both results pass for the same quotation revision, final installation and operating plan. Hold approval for any failed or inconclusive result. Record the adjustment and repeat the affected test before signing off.
Sample acceptance record
Expand the record, then select and copy it into your purchasing document or email. Fill in one record per configuration and retain any retest as a separate entry.
Open the sample acceptance worksheet
Project and sample
- Project / buyer / tester:
- Quotation reference and revision:
- Sample model, serial or lot, and hardware/firmware revision if applicable:
- Panel / control box / battery / string and mounting references:
- Manual revision and applicable pages:
- Installation site, intended operating months and sketch / photo references:
Agree before testing
- Required local lighting window and latest acceptable automatic start:
- Required brightness / mode and how usable light will be judged:
- Minimum usable lighting duration:
- Planned USB top-up accepted? If yes, method, schedule and responsible person:
- Representative conditions / number of cycles agreed:
Test A · Daytime recharge and same-night run
- Date / local times / weather / candidate position:
- Mount and panel direction / tilt from horizontal:
- Shade timing, extent and source / glazing if present:
- Starting charge or known starting condition / preparation:
- End-of-day charge indication and manual-defined meaning:
- USB top-up used? Time, duration, equipment and starting / ending indication:
- Lighting settings and permitted start method:
- Nearby light controlled? How:
- Start / first below usable brightness or switch-off / usable duration:
- Reason for end if known / photos or observations:
- A outcome (pass / fail / inconclusive) and reason:
Test B · Night-time light sensing
- Date / time / site and ambient conditions:
- Known sufficient charge and how confirmed:
- Automatic mode / timer / sensing component and position / response delay:
- Artificial source and normal setting / effect at sensing point:
- Normal lighting — observation start / response time / string response:
- Source influence removed — how / observation start / response time / string response:
- Restored normal lighting if checked — time / string response:
- B outcome (pass / fail / inconclusive) and reason:
Decision
- Approved configuration and installation condition, or hold for retest:
- Adjustment / affected test(s) / retest date or record reference:
- Approver / date:
Discuss the proposed installation with Couleelight
Share the intended installation position, the required lighting window and brightness or mode, and whether planned USB top-ups are acceptable. A marked site photo and any sample observations can help identify what to confirm for the quotation.